Clean your pod holder. Keep the screw you removed Screw B and set it aside for later when we reattach the Connector Cover.

Keurig K150 Brewer Cleaning Instructions Youtube
Rinse both pieces with soap and warm water until clean.

How to take apart a keurig k150p. K150P User Guide Cleaning Your Keurig 20 Brewer Needles. Clean and sanitize the Keurig K150 K150P brewer This procedure should take approximately 30 minutes Tools Needed Clean Sanitize Kit if available Available sink. 10 oz and Travel Mug-12 oz your Keurig Turn the box on its side with the front of the box brewer gives you endless options to customize 1.
Clear out the exit needles. Keurig requires the use of an external water filter such as the Omnipure KQ8A to maintain warranty. Next step is to remove the top cover to get to the water supply to the K-cup.
1 For K150 remove Reservoir and drain see Fig. This video is intended for Classic Keurig brewer models including the K-Compact K-Select and K55 brewers. Identify the exit needle tube at the bottom of your K-cup pod holder.
Find the exit needle located on the bottom of the top-part of the K-Cup holder. Next open up the front loader and remove the screws that hold the top cover. Page 5 Features Keurig Model K150P Brewer Back view with optional Filter Kit 5572 connected.
Page 4 Mug-6 oz Medium Mug-8 oz Large Mug- Remove enclosed literature. The approach we take in detaching the outer casing is to release the inner clips that secure the case to the brewers superstructure inside. 6 Plumbing Instructions fittings are recommended such as High Density Polypropylene Type.
Instruction by duering ag Switzerland manufacturer of durgol decalcifier. Connect a long length of tubing to the EXIT Port. 2 Cleaning Carefully unplug brewer and bring to sink Fig.
To begin separate the funnel from the holder by pulling the top and bottom pieces apart. These are covered by Screw Caps. Connect the Plumb Kit Wiring to the Brewer.
Remove that by removing the three Phillips screws with a long 2 Phillips screwdriver. Clean the screen under running water with a brush. We heard that the Keurig coffee machines were difficult to take apart and since weve never done one we thought it would be fun to try.
First remove all the screws from the bottom of the Unit. A filter kit part number 5025 is available from Keurig. This kit contains a Omnipure KQ8A filter filter head and mounting bracket.
Then remove the Handle. How to Brew with Keurig K-Cup Coffee Maker. Once every 3-6 months descale with vinegar or Keurig descaling solution.
Remove the Screw Caps then the screws. Give it a wash. Using a straightened paper clip clean the exit needle tube by poking the paperclip into the tube and moving it around to loosen any coffee grounds or other particles.
Place your Direct Water Line Plumb. Separate the parts into machine-washable and non-machine washable. Connect the INLET port of the filter assembly to the local water supply.
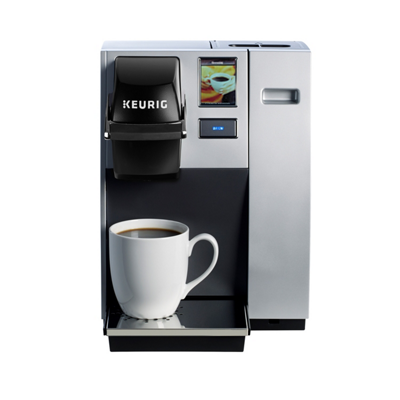
Ideal for medium volume use. We found after much trial-and-error that a long thin Phillips screwdriver worked best in forcing the clips open. Fully programmable Keurig brewers with an interactive touch-screen that allows for customizable brew experience.
Keurig K150P Brewer Back view with optional Filter Kit 5572 connected. Reassemble after proper cleaning. Next There are 6 screws on the BACK of the unit.
A Keurig technician will professionally install your brewer including setting up the brewer attaching to the water line and reviewing routine maintenance. The KQ8A Filter assembly comes with 14 FPT ports for both inlet and. You can also place them on the top-shelf of your dishwater and use a low temperature cycle to wash them if youd prefer.
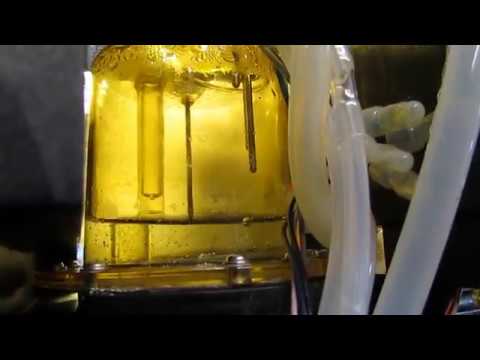
How to descale a Keurig B155 Brewing System.

K150 K150p Puncture Needle Cleaning Procedure On Vimeo
Descaling Cleaning Your Keurig B150 K150 B155 K155 K150p B150p Brewer Mykup


Keurig Brewers Check Water Supply Problem Solved Youtube
Owners Manuals For All Keurig Brewer Models Mykup


Keurig K150 Youtube

Keurig K150 Single Cup Commercial Coffee Maker Single Serve K Cup Pod Coffee Brewer Silver Amazon Ca Home
Replacement Cold Water Tank Assembly For Keurig K150 K155 Coffee Maker


Keurig K155 Secret Menu And K150 Youtube
Keurig K150 Commercial Coffee Maker

Keurig K150p Commercial Brewer With Direct Water Line Plumb Kit And Filter Kit Overview Youtube
Troubleshooting Your Keurig K150 Or B150 Brewer Mykup

How To Descale Your Keurig K150 Uk Plumbed Machine Youtube
Install A Direct Water Line Plumb Kit On Keurig B150 K150 B155 K155 K150p B150p Brewers Mykup

Keurig Secrets Revealed Look Under The Hood Of A Working Keurig K155 Youtube

Keurig K150 Cold Tank Float Reset Youtube

K150 System Overheat Reset On Vimeo

Keurig K150 Refill Reservoir Fix Hack Youtube

Keurig B150 No Power Repair Fix Youtube
Keurig K150 Vs K155 Pros Cons And Verdict
Post a Comment for "How To Take Apart A Keurig K150p"